


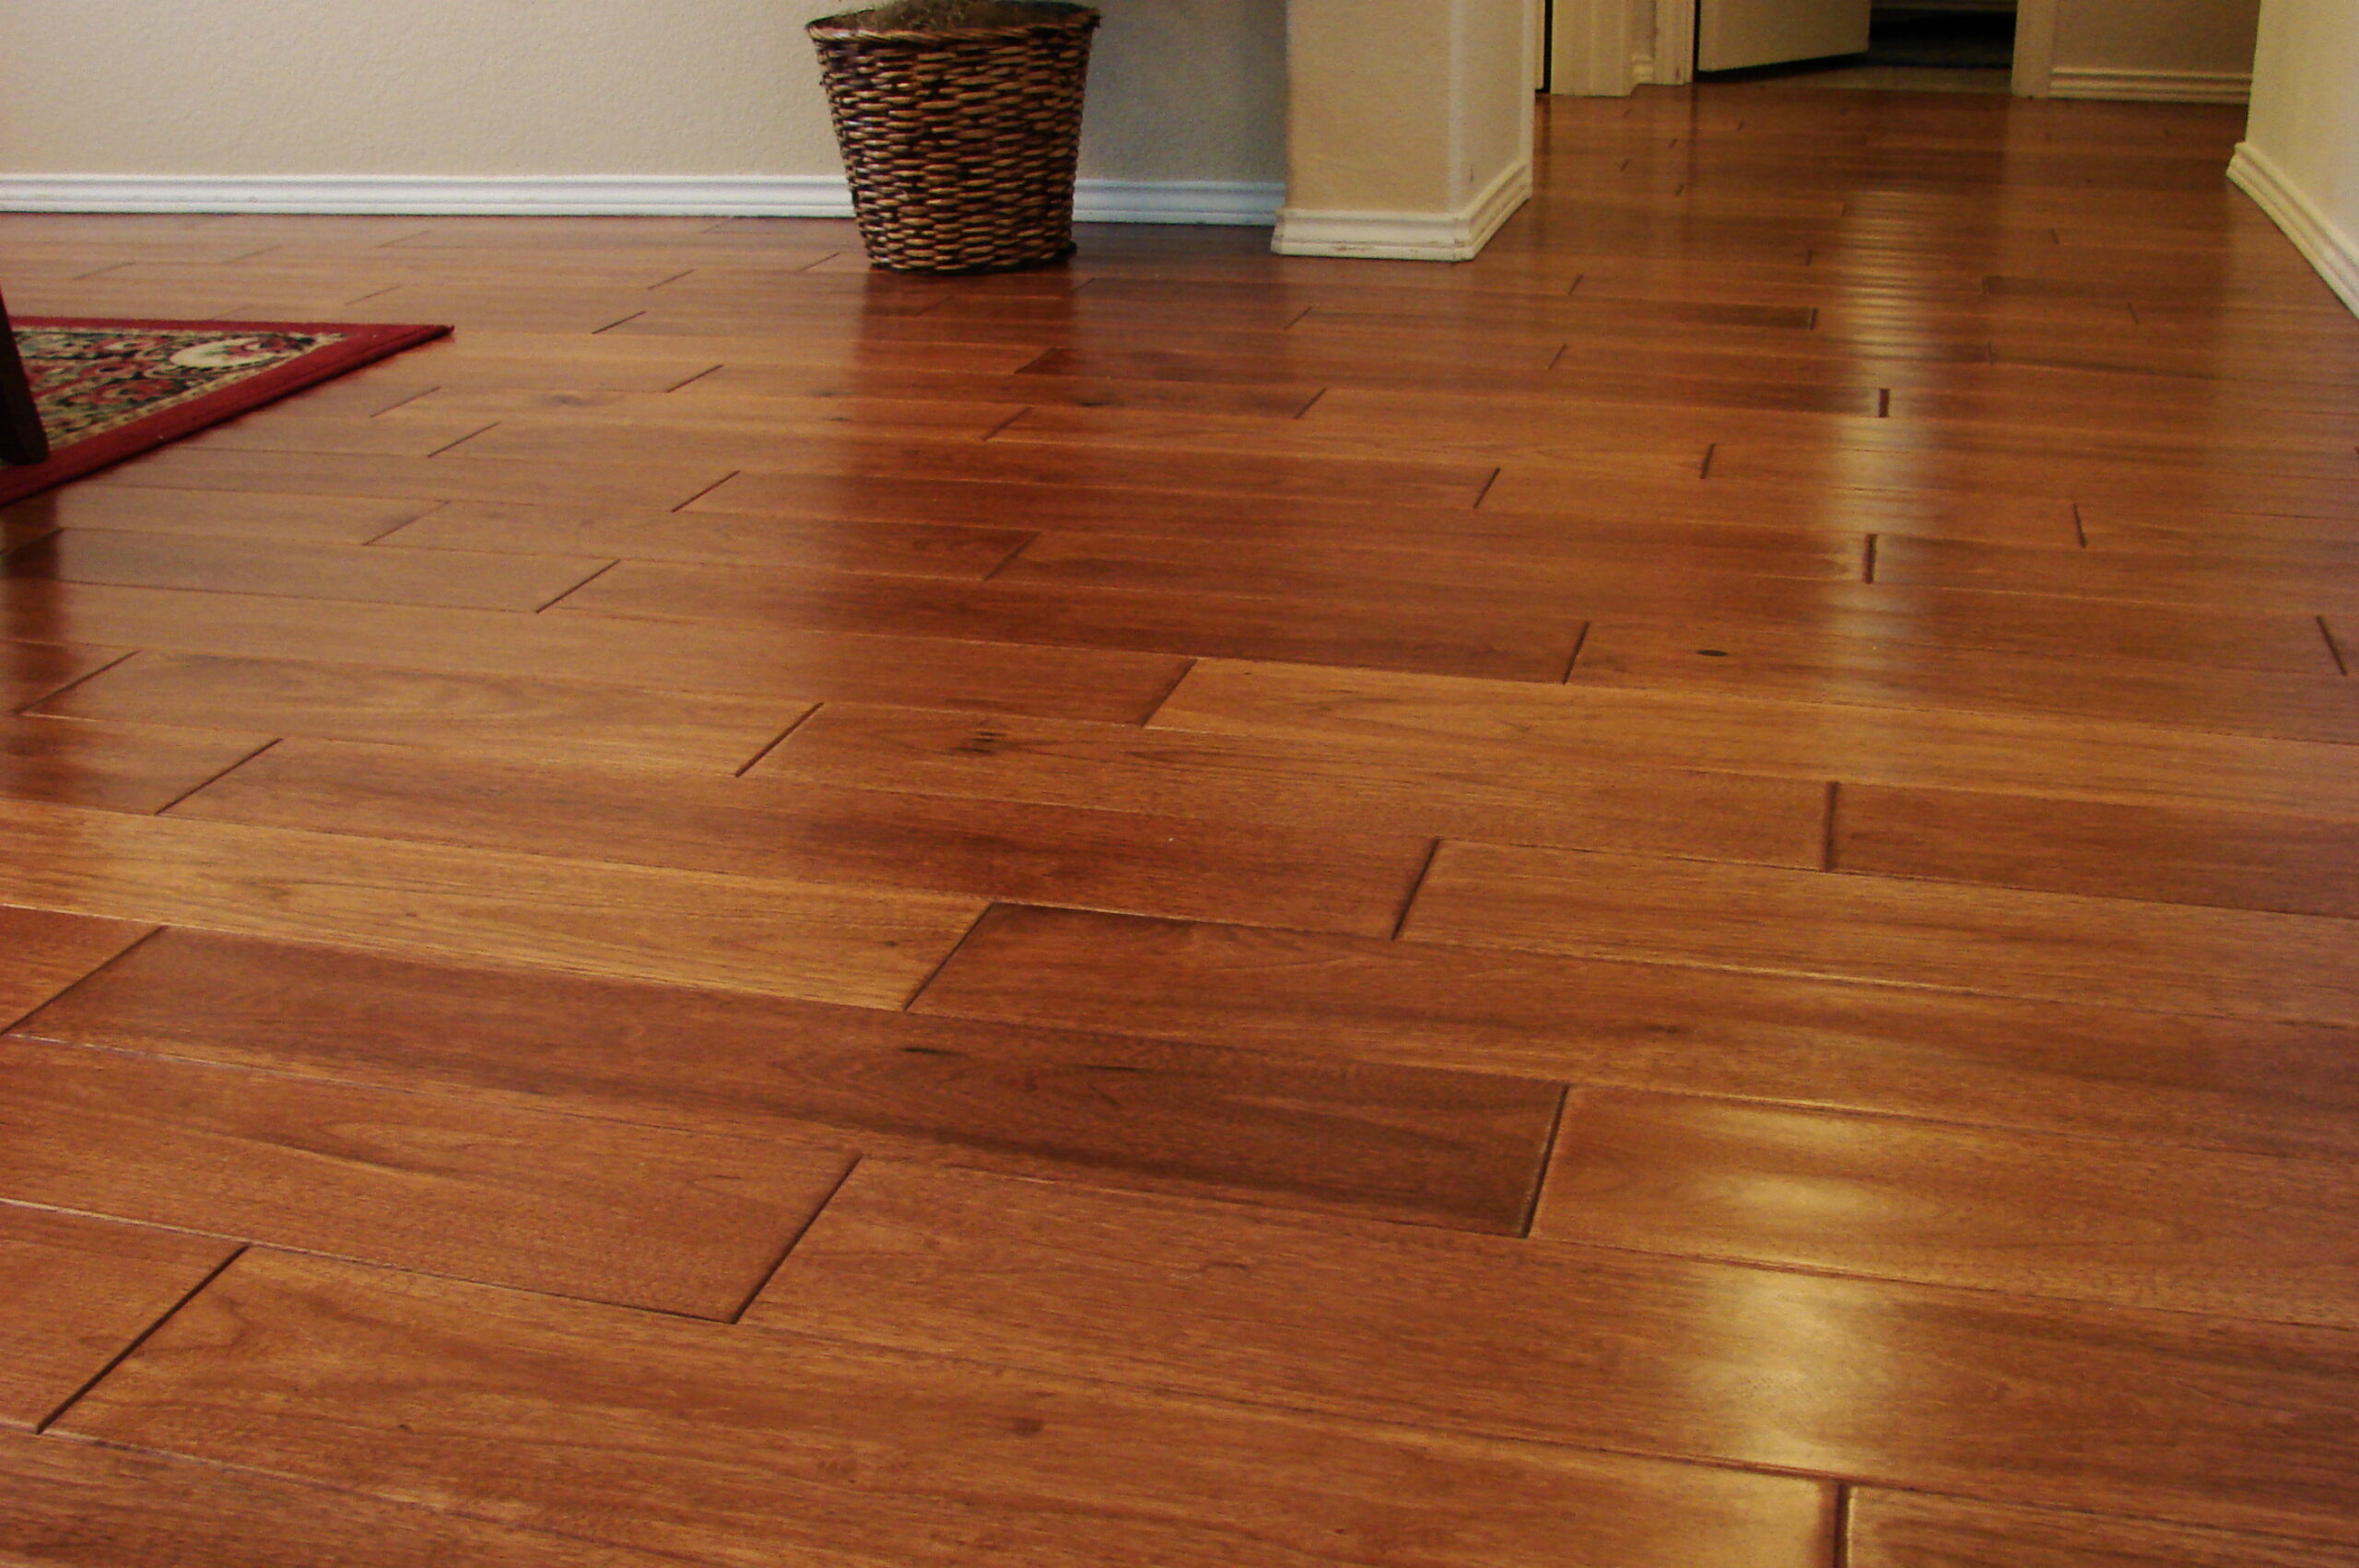
Step-by-Step Guide to Hardwood Flooring Installation
Hardwood flooring adds warmth, elegance, and durability to any home. Whether you’re remodeling or building a new space, understanding the process of hardwood flooring installation can help you prepare for a smoother experience. Here’s a breakdown of the typical steps involved in installing hardwood floors.
Step 1: Prepare and Acclimate the Wood
Before installation begins, the hardwood needs to adjust to your home’s temperature and humidity. This process, known as acclimation, helps prevent the wood from expanding or contracting after installation.
Typically, the wood should be delivered and stored in the installation area for 3-14 days, depending on the season and conditions. The boxes must remain sealed and stored flat, with space for air circulation. Proper acclimation ensures a stable and long-lasting floor.
Step 2: Remove Existing Flooring
Before laying hardwood, any existing flooring—like carpet, tile, or vinyl—must be removed to reveal the subfloor. This step can be messy, but it’s essential for a strong foundation.
The subfloor is cleaned, leveled, and prepped to ensure a smooth installation. Any uneven areas may be sanded or repaired, and a moisture barrier is often added to protect against humidity.
Step 3: Plan and Layout the Hardwood
Once the subfloor is ready, the hardwood planks are arranged to determine the layout. Planning includes staggering the joints to create a natural, seamless look and avoiding patterns that are too repetitive. If new flooring is being installed alongside existing hardwood, the planks may need to be interwoven for a cohesive appearance.
Step 4: Install the Hardwood
Hardwood installation methods vary based on the subfloor type. For a wooden subfloor, planks are nailed down using a flooring nailer. For concrete subfloors, a flexible adhesive is used to secure the boards.
The planks are installed using a tongue-and-groove system, where the “tongue” of one board fits snugly into the “groove” of the next. Expansion gaps of 10-12mm are left around the perimeter to allow the wood to expand and contract naturally.
Step 5: Sand and Finish the Flooring
If you’ve opted for site-finished hardwood, the next step involves sanding the entire surface to create a smooth, even texture. After sanding, the floor is buffed to remove any scratches or imperfections.
A finish—such as polyurethane or oil—is then applied to protect the wood and enhance its appearance. Depending on the chosen finish, this process may require multiple coats, with buffing in between, and drying time before the floor is ready for use.
Step 6: Replace Trim and Clean Up
Once the finish has dried, the baseboards, trim, and any removed appliances or fixtures are reinstalled. At this stage, it’s important to inspect the finished floor for any final adjustments or touch-ups.
Step 7: Protect and Maintain Your New Floors
After installation, proper care is essential to maintain the beauty and longevity of your hardwood floors. Add felt pads to furniture legs to prevent scratches, and avoid dragging heavy items across the floor. Regular cleaning with a hardwood-friendly cleaner will keep your floors looking their best.
By following these steps, hardwood flooring professionals ensure a durable, visually appealing result that enhances your home for years to come. For homeowners, understanding this process can help make the experience seamless and rewarding.
