
Are you curious about understanding how to ensconce a UV light that sterilizes the air inside your HVAC system? Even hospitals utilize UV-C light to fix medical equipment and operating rooms, so you may be sure that you have found the correct spot. It is a step-by-step explanation of installing a UV lamp to keep mold and mildew away from your air conditioning system, safeguarding the quality of the air you breathe.
1. Determine the Location of the best furnace UV Light Installation.
The preferable thing you need to do when installing a UV furnace lightis to figure out where on your furnace or air handler the light will be most effective. If the germicidal UV lamp is put in the incorrect location, it will be unable to prevent mold formation or mildew as well as it otherwise might.
In most cases, you will want to install the UV light treatment system for your air conditioner so that the evaporator coil receives the lightest possible. According to research conducted by Lincoln Tech, the evaporator coil (together with the drip pan) is often where pollutants in HVAC systems are introduced.
Biofilms are territories of microorganisms that attach to a character and may form on the evaporator coil, making them prone to development. Biofilms are also known as slime films. In the neighborhood of 5,000 square feet, an evaporator coil has a total surface area.
The portion of the air handler known as the evaporator or the A-coil is the component that contains the tubing made of copper (or aluminum), which the refrigerant travels through. It generally takes the form of a tepee or an “A,” It is typically the area with the most accumulation of dust and the most mold development.
On the other hand, if you already have mold development in your HVAC system and there is a specific corner or section of the air handler prone to mold growth, then you should put the UV lamp such that it shines the most on the tough mold spot. If you already know which area of your air conditioner sees the most mold development, there is no purpose in experimenting to test out other locations.
2. Create the hole or holes for ultraviolet light.
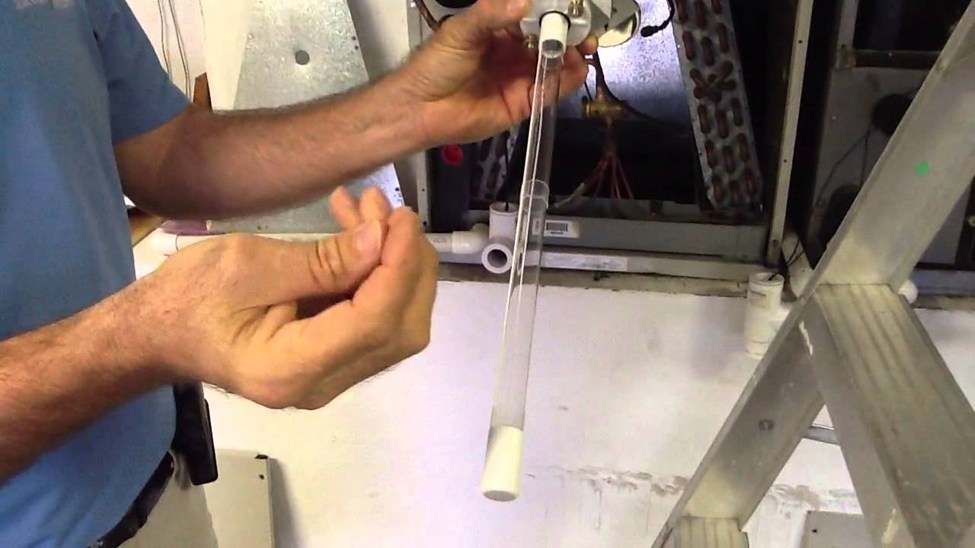
The subsequent phase is to mine a hole into the device for the ultraviolet light bulb to reach the inside of the indoor air handler. The most critical component of any UV light sanitizing system is permanently attached to the outside of the product. The only parts permitted inside are the very long ultraviolet light bulbs.
– Take Measurements before Drilling Holes
It is suggested that the surface of the furnace be withdrawn to take precise dimensions. It would be a waste of time to drill a hole in the sheet metal to find out later that the UV light bulb won’t fit in that particular place. You might also try gently inserting the UV light bulb into the spot where it will be installed to see whether or not it will fit properly. Remember to keep your hands off the UV light bulb in the air conditioner. The oils from your talent will cause the light emitting from the bulb to dim, and they may even cause it to break.
– Drilling With a Hole Saw And Using It
If you own a UV lamp but do not have a spot saw, you will need to buy one to cut a circular area in the metal HVAC cover and install the light (or ductwork). Most UV lamps need a hole with a diameter ranging from 1.5 to 3 inches. Some hole saws come complete with the drill bit already attached to the spot saw itself. First, the drill bit is inserted, which assists in grabbing the sheet metal (and serves as a guide for the hole saw), and then the hole saw is used to create the real 2.5-inch hole.
3. Simply place the germicidal UV lamp in the furnace and you’re ready to go.
The next step is to attach the UV lamp to the air handler using the appropriate screws. It was unacceptable that the UV product did not arrive with the necessary number of screws for the installation. Be mindful not to overtighten the nails while installing them since this might cause the UV light’s plastic to break. As a friendly reminder, do not insert the plug for the UV light bulb until after it has been completely fitted. The ultraviolet radiation can potentially cause burns on the skin and harm the eyes.
4. Provide Energy for the A/C and UV Lighting System
After the ultraviolet light sanitiser has been attached to the heater, the next step is to power up the system. Most new UV lamps will have extension power cables between 5 and 7 feet. Plugging the device into an already-existing outlet is all you will require. The utility room will often already be equipped with at least one available outlet.
Installing the UV lamp in the furnace using conventional wiring is a further alternative. You may also wire it so that the UV light won’t turn on until the furnace or air conditioner does, preventing it from being on continuously.
After you have ensured that the UV lamp is appropriately plugged in, you should turn the power switch on the device to the “On” position and then examine the sight glass to validate that the UV light is, in fact, operational. In the sight glass, there ought to be something that looks like a blue light.
5. Alter and Scrub Up The ultraviolet lighting bulb
The majority of UV light bulbs have a life cycle of about one year. Even though there is a blue light emanating from the bulb, this does not indicate that it does not need replacement. Mold can only be killed by a certain frequency of UV-C light, which is not detectable by human eyes. Even while the device still emits some blue light, the amount of UV-C light frequency that it produces has significantly decreased.
In addition to this, it is suggested that the UV light bulb be cleaned once every few months or after each season. To properly clean the device, you will need to remove the bulb and wipe it down with a gentle fabric that does not contain any lint, such as a microfiber rag. To remove the dirt and particles that have accumulated on the bulb, you may use any ordinary glass cleaning solution.
What Are The Final Estimates For a Fitting of a UV Light?
It shouldn’t be unduly challenging to install a UV lamp that will destroy mold and mildew in your indoor air handler if you follow the instructions in this article and do so in the correct order. You should make a hole in the optimal area, insert the light bulb, use screws to fix the light, and then plug in the morning.
If you already have all of the necessary equipment on hand, it should only take you 15 to 30 minutes to set up a UV lamp. On the other hand, if you wish to hardwire the UV lamp into the power supply of your furnace, the process might take longer. Apart from that opportunity, by means of the hole saw to cut the spot (s) will be the most interesting part of installing a UV lamp.